
Free attendance tracker for teachers
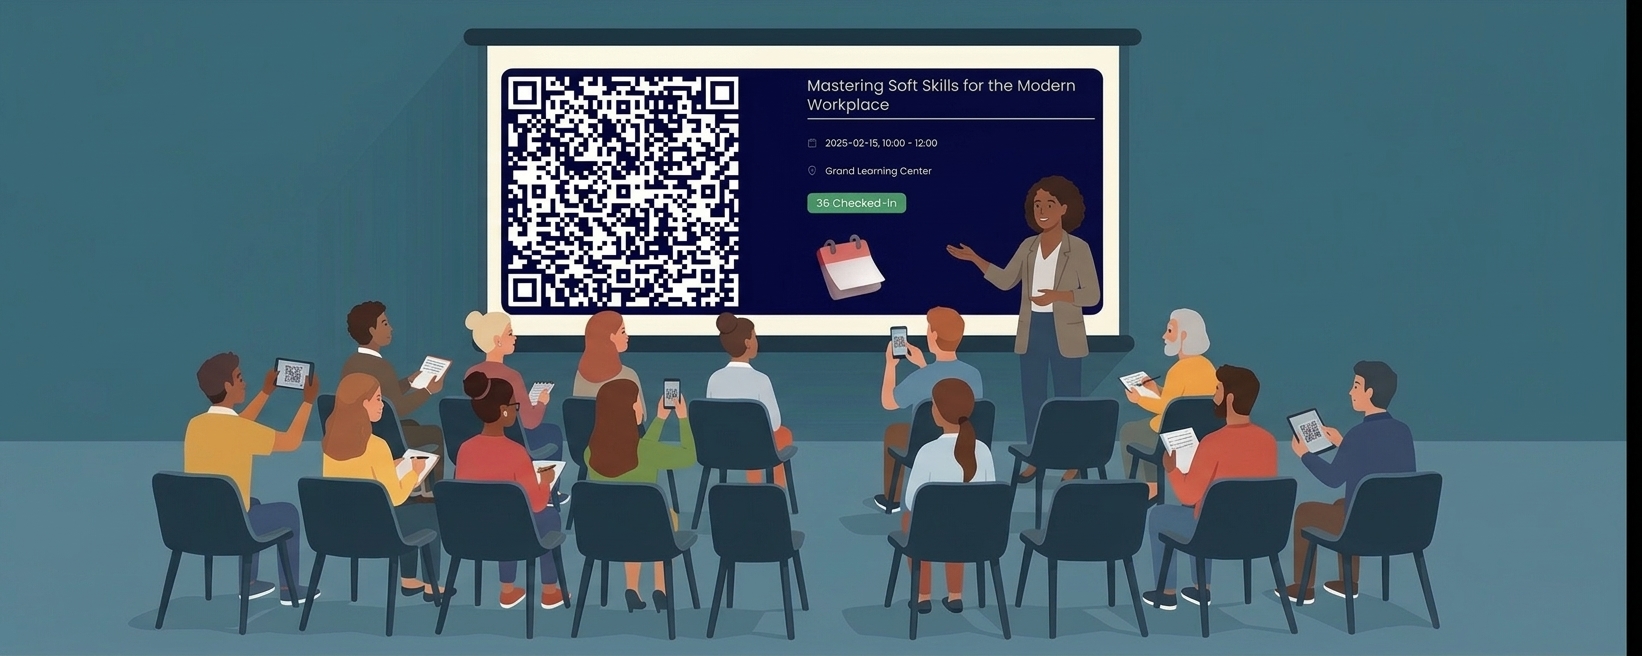
Put a QR code on the board and let the class take its own register. Students scan it with the phone already in their pocket, names appear in front of you as they arrive, and the timestamped record exports to a spreadsheet whenever the office asks for it — free, with nothing for your students to install.
What is a free attendance tracker for teachers?
A free attendance tracker for teachers is a tool that records who attended each class without a paper register. You display a QR code, students scan it with their own phones, and the register fills itself in with a name and an exact check-in time for every student — ready to export whenever the school asks for it.
- Time to take the register
- Under a minute for the class
- App for students
- None — phone camera only
- Cost to start
- Free, no card required
How does a free attendance tracker work?
A QR code is just a link in visual form. Point a phone camera at it and the check-in page opens — which means the register can be taken anywhere you can show a code: on the whiteboard, on a sheet by the classroom door, or as a link dropped into the chat of an online lesson.
- 1
Your class gets its own code
Add the class once — name, date, time, and room — and its QR code is generated for you. Set it to repeat weekly and every lesson in the timetable gets its own register automatically, so you are not rebuilding it each week.
- 2
Students scan as they sit down
Project the code on the board while you set up, or print it and tape it by the door. Students point a phone camera at it, the check-in page opens in the browser, and they enter their name. Nothing to install, nothing to hand around the room.
- 3
The register fills itself in
Each scan adds a timestamped row to the class list as it happens, so you can see at a glance who is still missing. When the lesson ends the register is already complete and exports to CSV for your gradebook or the school office.
Why teachers stop using paper registers
A paper register is rarely wrong in one large way — it is wrong in dozens of small ones. A name nobody can read, a sheet left behind in the room, a student who arrived twenty minutes late recorded exactly like one who was early, and an evening spent copying it all into a spreadsheet.
Your first five minutes back
Reading thirty names aloud costs several minutes of every lesson. Across a term that is hours of teaching time spent on administration that a projected code does while you are still plugging in your laptop.
No sheet going round the back row
A register passed down the rows arrives late, incomplete, and occasionally signed by the wrong person. Every student checks in from their own seat at the same time instead.
Real arrival times, not a tick
A paper register records that a student came, never when. Each scan stores the exact minute, which is what a late-arrival policy or a pastoral conversation actually needs to be based on.
Nothing to retype afterwards
Handwriting gets misread and typing it up invites a second round of mistakes. The record is captured digitally once, at the moment it happens, and never has to be copied again.
A term of data, not a folder of paper
Export the whole term and you can see who is drifting away weeks before it shows up in their results — and compare attendance against performance instead of guessing at the link.
Evidence when it is asked for
When a parent, head of department, or inspector asks who was in the room on a given date, the answer is a file you export in one click rather than an afternoon in the filing cabinet.
What you get for free
“Free” usually means free for thirty days. Here it means a plan that does not expire, so here is exactly what it covers and where it stops.
- Price
- Free forever — no credit card to start
- Classes you can run
- Up to 5 at a time
- Students per class
- Up to 20
- Repeating timetable
- 1 recurring class, every lesson tracked separately
- QR codes
- Generated automatically, as many scans as you need
- Exports
- CSV download of any class register
What free covers
The Starter plan is free permanently rather than for a trial period. For most teachers a single class of up to 20 students, tracked every week on a repeating timetable, sits comfortably inside it — QR codes, live check-in, and CSV export included.
When you would need to upgrade
If you teach lecture-sized groups above 20 students, need more than 5 classes running at once, or want several repeating classes across a full timetable, that is where a paid plan starts. Nothing you have already recorded is taken away if you stay on the free plan.
Attendance tracking for every teaching setting
The mechanics are the same wherever you teach; what changes is who eventually reads the register. A school needs it daily and defensibly, a university needs it per module, and a tutor needs it to show a parent or a funder what was delivered.
School classrooms
For teachers taking the register several times a day, every day of the week.
- Form time and daily lessons — the code goes up on the board while students settle.
- A repeating timetable set up once, with each lesson keeping its own separate register.
- Exact arrival times, so persistent lateness is visible as a pattern rather than a feeling.
- Cover lessons — a supply teacher displays the same code without needing your paperwork.
- Trips and assemblies — check a group in at the coach door from a printed code.
Lectures, seminars, and tutorials
For university and college teaching, where the room is bigger and the register matters for progression.
- Lectures — the whole hall scans at once instead of a sheet circulating for twenty minutes.
- Seminars and labs — attendance per session, so participation across a module is visible.
- Exams and one-off workshops — a clean, timestamped list of who sat the session.
- Attendance monitoring requirements — export the evidence your department has to file.
- Compare turnout against results at the end of the term from one exported file.
Tutors and training providers
For teaching that has to be evidenced to a parent, an employer, or a funder.
- Private tuition and small groups — a record of every session delivered and attended.
- Adult education and evening classes — learners check in from their own phones on arrival.
- Online and hybrid teaching — share the check-in link in the meeting chat instead of a code.
- Funded or accredited courses — timestamped attendance as proof of hours completed.
- Invoicing — export the term and bill from what was actually attended.
Can students check in for a friend?
It is the fair question to ask of any digital register, and students work these things out faster than anyone. If a code can be photographed and forwarded, someone can in principle mark themselves present from the canteen.
The answer is not stricter hardware. It is making the code useless anywhere except the lesson it belongs to:
Check-in windows
Each lesson only accepts check-ins during its own window. A code photographed last Tuesday does nothing this Tuesday, and nobody checks in from bed the night before.
One code per lesson, not per student
Because the code belongs to the lesson rather than to a student, there is no personal code for a friend to borrow in the first place.
Show the code, do not send it
Putting the code on the board for the first few minutes of the lesson — rather than emailing it out — means only the people in the room can see it.
Timestamps you can scan down
Every check-in carries its exact time, so a burst of identical timestamps in a lesson that ran for an hour stands out immediately in the export.
How to set up your free attendance tracker
There is no QR generator to find, no plugin to install, and nothing for your IT department to approve. Creating the class creates the code — here is the whole thing, start to finish.
- 1
Create a free account
Sign up with an email address. There is no card to enter and no trial clock running in the background.
- 2
Add your school or department
Create an organization — the workspace your classes, rooms, and subjects live under, so a term of registers stays together in one place.
- 3
Add your class
Give it a name, date, time, and room. If it runs every week, switch on recurrence and pick the days — each lesson then keeps its own register automatically.
- 4
Set the check-in window
Choose when check-in opens and closes so students can only mark themselves present while the lesson is actually running.
- 5
Show the code and export
Project the QR code or print it for the door. Watch names appear as students scan, then export the register to CSV whenever you need it.
Step-by-step instructions are in the Help Guide.